Please note that this page is updated regularly to reflect new information.
General Information
All images submitted for use on the College website will be of sufficient quality for a professional look. That is, image resolution will be 72ppi (pixels per inch), which is the maximum. Images must be scalable for mobile devices. Attention should be paid to the surrounding elements in the page where the image is to be placed to avoid any unintended odd or jarring visual effects.
For large images that must scale and for transparent or animated images, the PNG format is preferred. Smaller, static images for Tier 2 and 3 pages may also be in the JPG format. Due to its lower resolution, lack of scalability, and limited color palette, the GIF format is not acceptable for the College website.
The TIFF format is useful for working on images and for transfer between platforms. However, due to its extremely large file size, TIFF images are not used on the College website.
Filenames should be understandable by the College web staff. Filenames should identify the image and, optionally, serve as a guideline for where the image should be placed. A good example would be counseling_frontpage_top.jpg or RodriguezPortrait.png. Filenames such as IMG_0001.png or DSC5772.jpg should be avoided.
All images, whether portraits, icons, or web page content, must be in focus.
Portraits/Headshots
We are currently in the process of standardizing the sizes of portraits/headshots on the College website. Portraits should be in the indicated sizes when you upload them. The web software has built-in resizing functions, but this will often adversely affect the image. For scalability reasons, the PNG format is required for portraits.
When uploading a headshot, please adhere to the following guidelines:
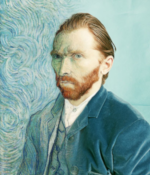
Large
In general, this is used mostly on landing pages and the President's page. Large portraits should be 500 pixels in width by 580 in height, as in the example.

Medium
This is the standard size for Faculty pages and most other uses. Image size will be 300 pixels wide by 350 high. Since the Small portrait is scaled automatically, this is a good size to upload to your Contact information.

Small
This size will be used primarily in an image grid/gallery, such as the team pages in the Foundation or President's sections. Size will be 150 pixels wide by 175 high.
Images Specific to Landing Pages
Be a Hero--Make a Good Hero Image
The hero image is what catches a student's attention. It makes the page visually interesting. On a Miramar landing page, the most common kind of hero you will use is the "Small Hero" block. It allows for a short greeting or description,, and an image or YouTube video. You can also include one or more calls to action, to appear directly below the greeting.

This block is used only as the first block on a page, in the first section (the gray one). The image (or video) is of a fixed size. The greeting text and calls to action, if used, should not exceed the height of the image.
Images for the Small Hero scale best at a width-to-height ration of 1.5:1. An example is 600px wide by 400px tall.
As on every Miramar page, the title should not exceed one line.
A new feature of our landing pages is the full size hero. This does not carry as much information, but can be very eyecatching for something like a marketing campaign.

Like the small hero, the large version must go in Section 1 only; that is, the top section with a gray background.
Add a block as you normally do, and select "Landing Page Hero."
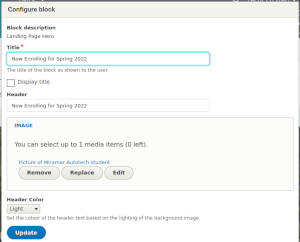
All you need to do is choose a title (the text you want to appear over the image). Then, upload your image as you normally do.
Note: For best resolution, the image is 1280 pixels wide by 450 pixels tall.
Click "Embed image."
Depending on the image, choose Light or Dark header color for best readability. (You can always change it).
Click Update, save your layout. and you should see your new hero image.
Department Page Hero
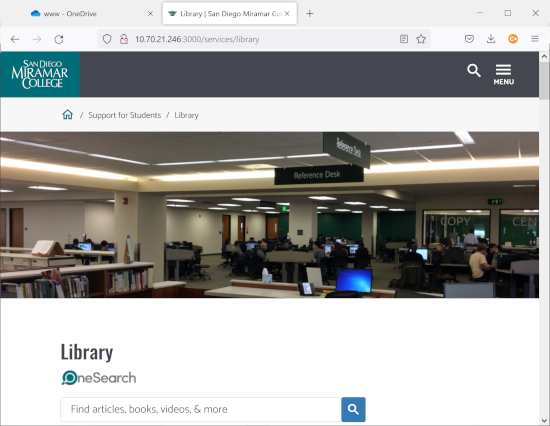
Maintainers of Campus Service pages may now include an optional hero image on their page.
Choose an appropriate image. Must be 1280ox wide by 450px in height.
Edit your main department page (e.g., Counseling, Library).
On the Edit form, you should now see a field for "Hero."
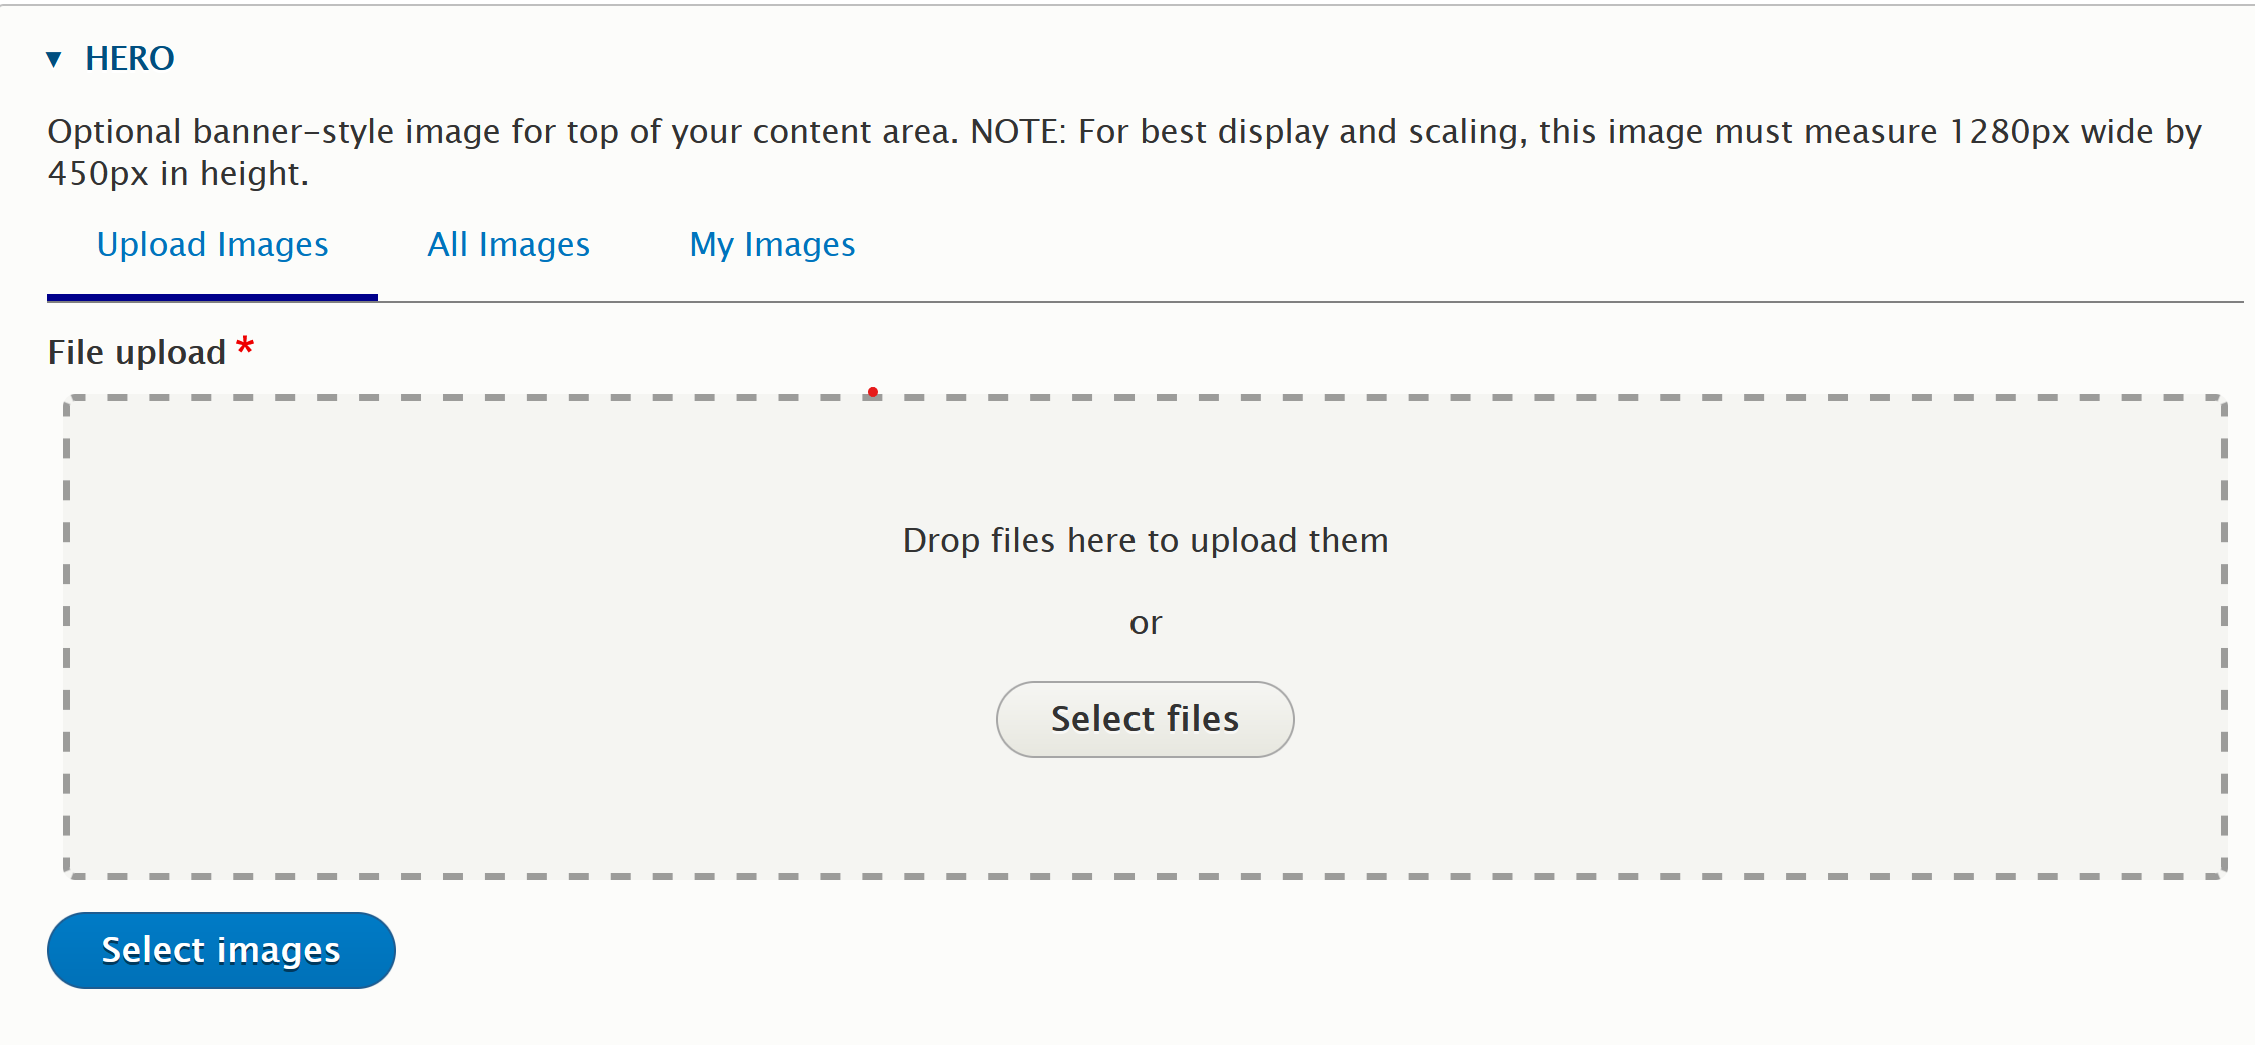
Upload the image you have chosen, just as you would any other image on the website.
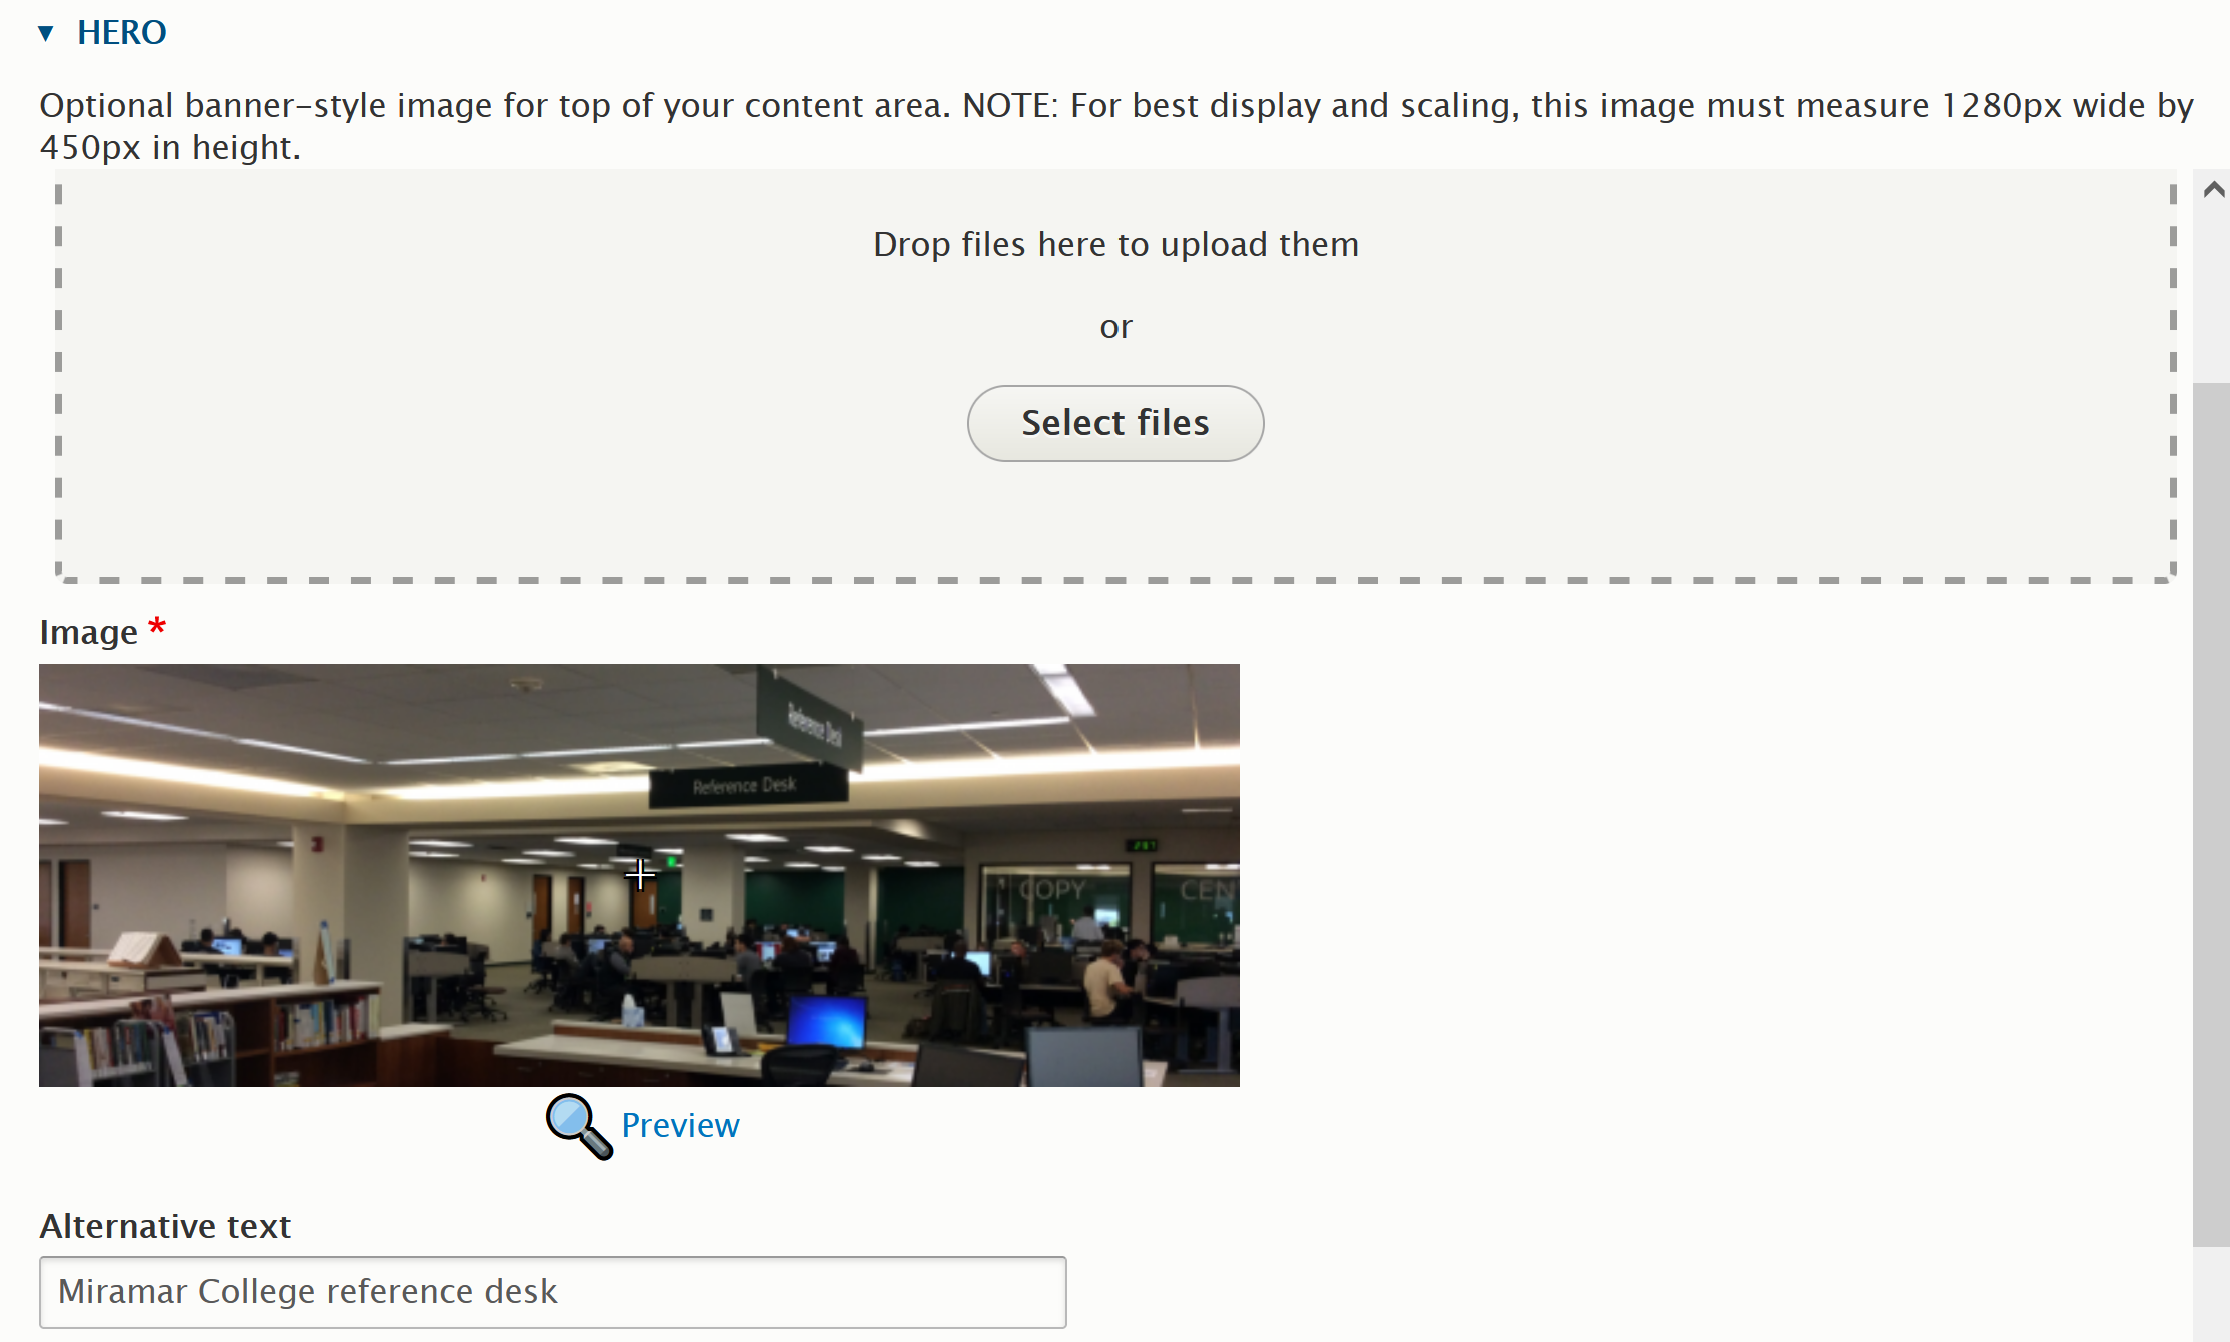
Click Select Images. Save your page.
The hero image should now display at the top of your page.