You should keep your contact information up to date, as this is the way students will get in touch, know your office hours, etc.
Finding Your Contact Information
This is what causes the most confusion. Your contact information is separate from the pages that it appears on., and must be updated separately. In order to find it, do the following:
After logging in, choose Content. You should see a list like this one:
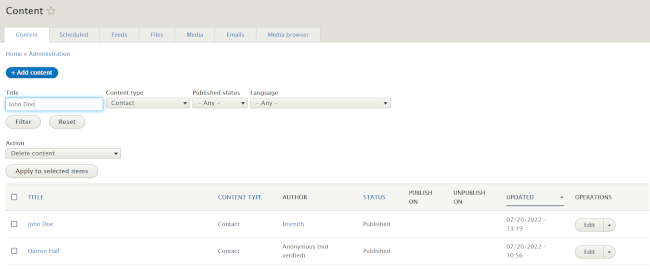
If you do not see your Contact, under Content Type, select Contact. In the Title field, type your name. Click Filter.
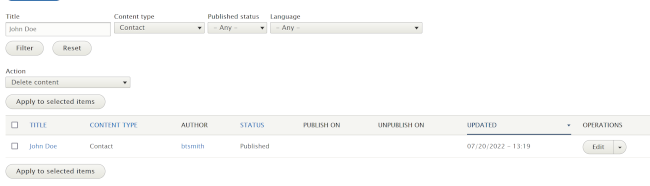
Click the Edit button on the right hand side. You will now see the Edit screen.
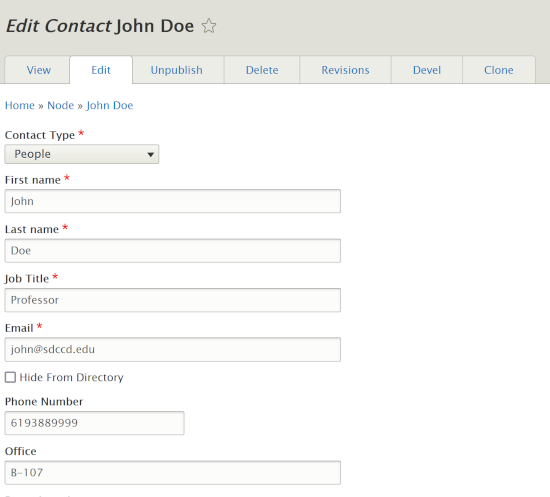
Here you can update basic information such as your name, title, email, and office location.
Uploading a Portrait
Each faculty member should include an appropriate portrait. Format must agree with the "Portrait Medium" described on the Images for the Web page.
To upload, scroll to the Image field below your basic information.
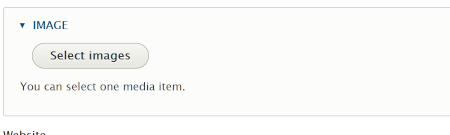
Click on Select Images. You will see the following:
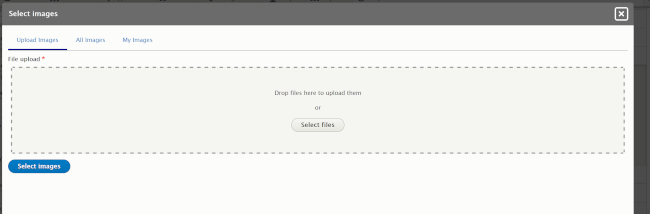
Click on Select files, in the middle of the screen. You will see the standard file selection dialog box.

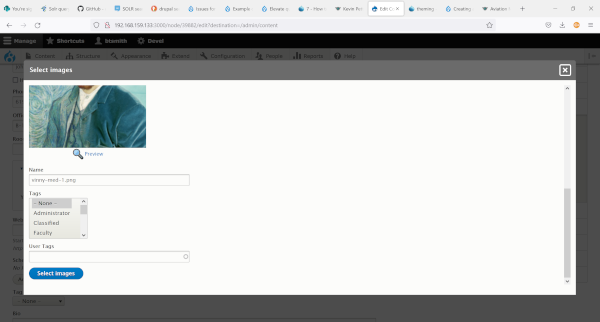
Double click the image you want to use. You will see the following:

In Alternative Text, type an understandable alternate name for the image. This is important for accessibility.
Important! Scroll to the bottom of the screen, and click Select Images.
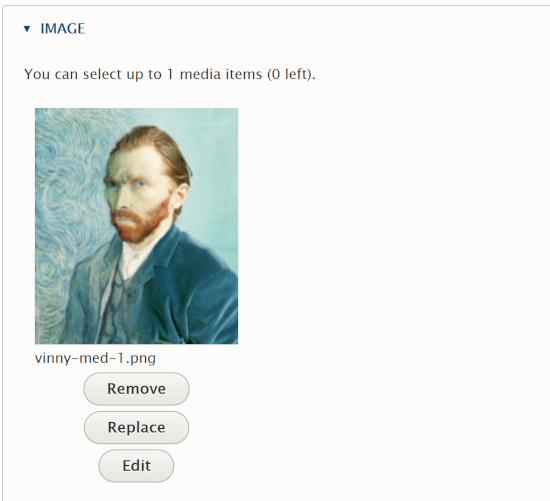
You should now see your image displayed on your Contact edit screen.
Adding Office Hours
It is strongly advised that you add your office hours and/or availability to your contact information. To do so, start by scrolling below your image, to the Schedule section.
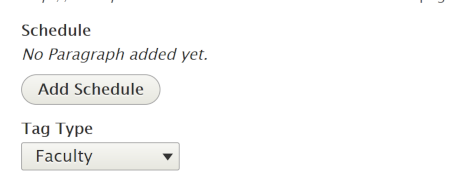
To add office hours, click on Add Schedule. Let's say you have office hours on Monday, Tuesday, and Wednesday from 10-11.
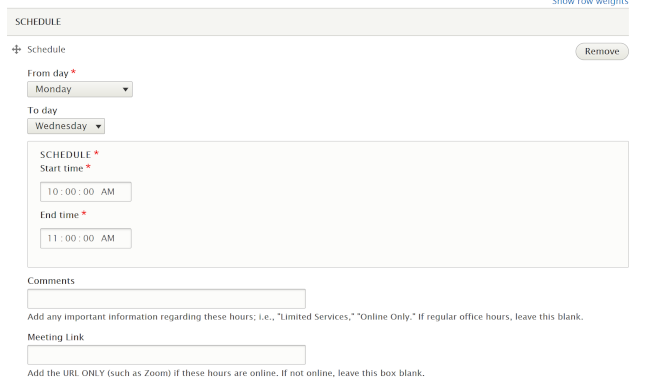
You would select Monday as From Day, and Wednesday as To Day. Then enter the start and end time.
Now, let's say you also have office hours on Thursday from 11 to 12, but only on Zoom. Click Add Schedule, below the hours you just added. You will see the same screen:
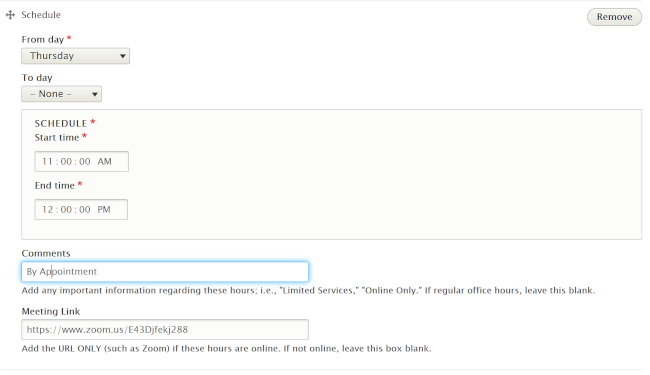
Enter Thursday as From Day with no To Day. Enter any short information in the Comments field if you wish. The address of your Zoom meeting goes in the Meeting Link field.
In the Bio field, type an optional short bio (maximum 1 paragraph).
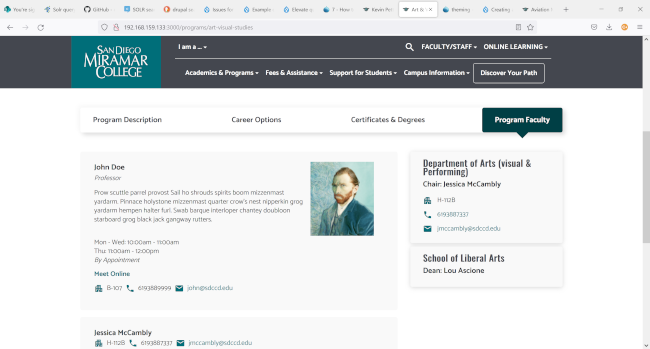
Save your Contact. Your information should now be displayed wherever a faculty member is displayed.